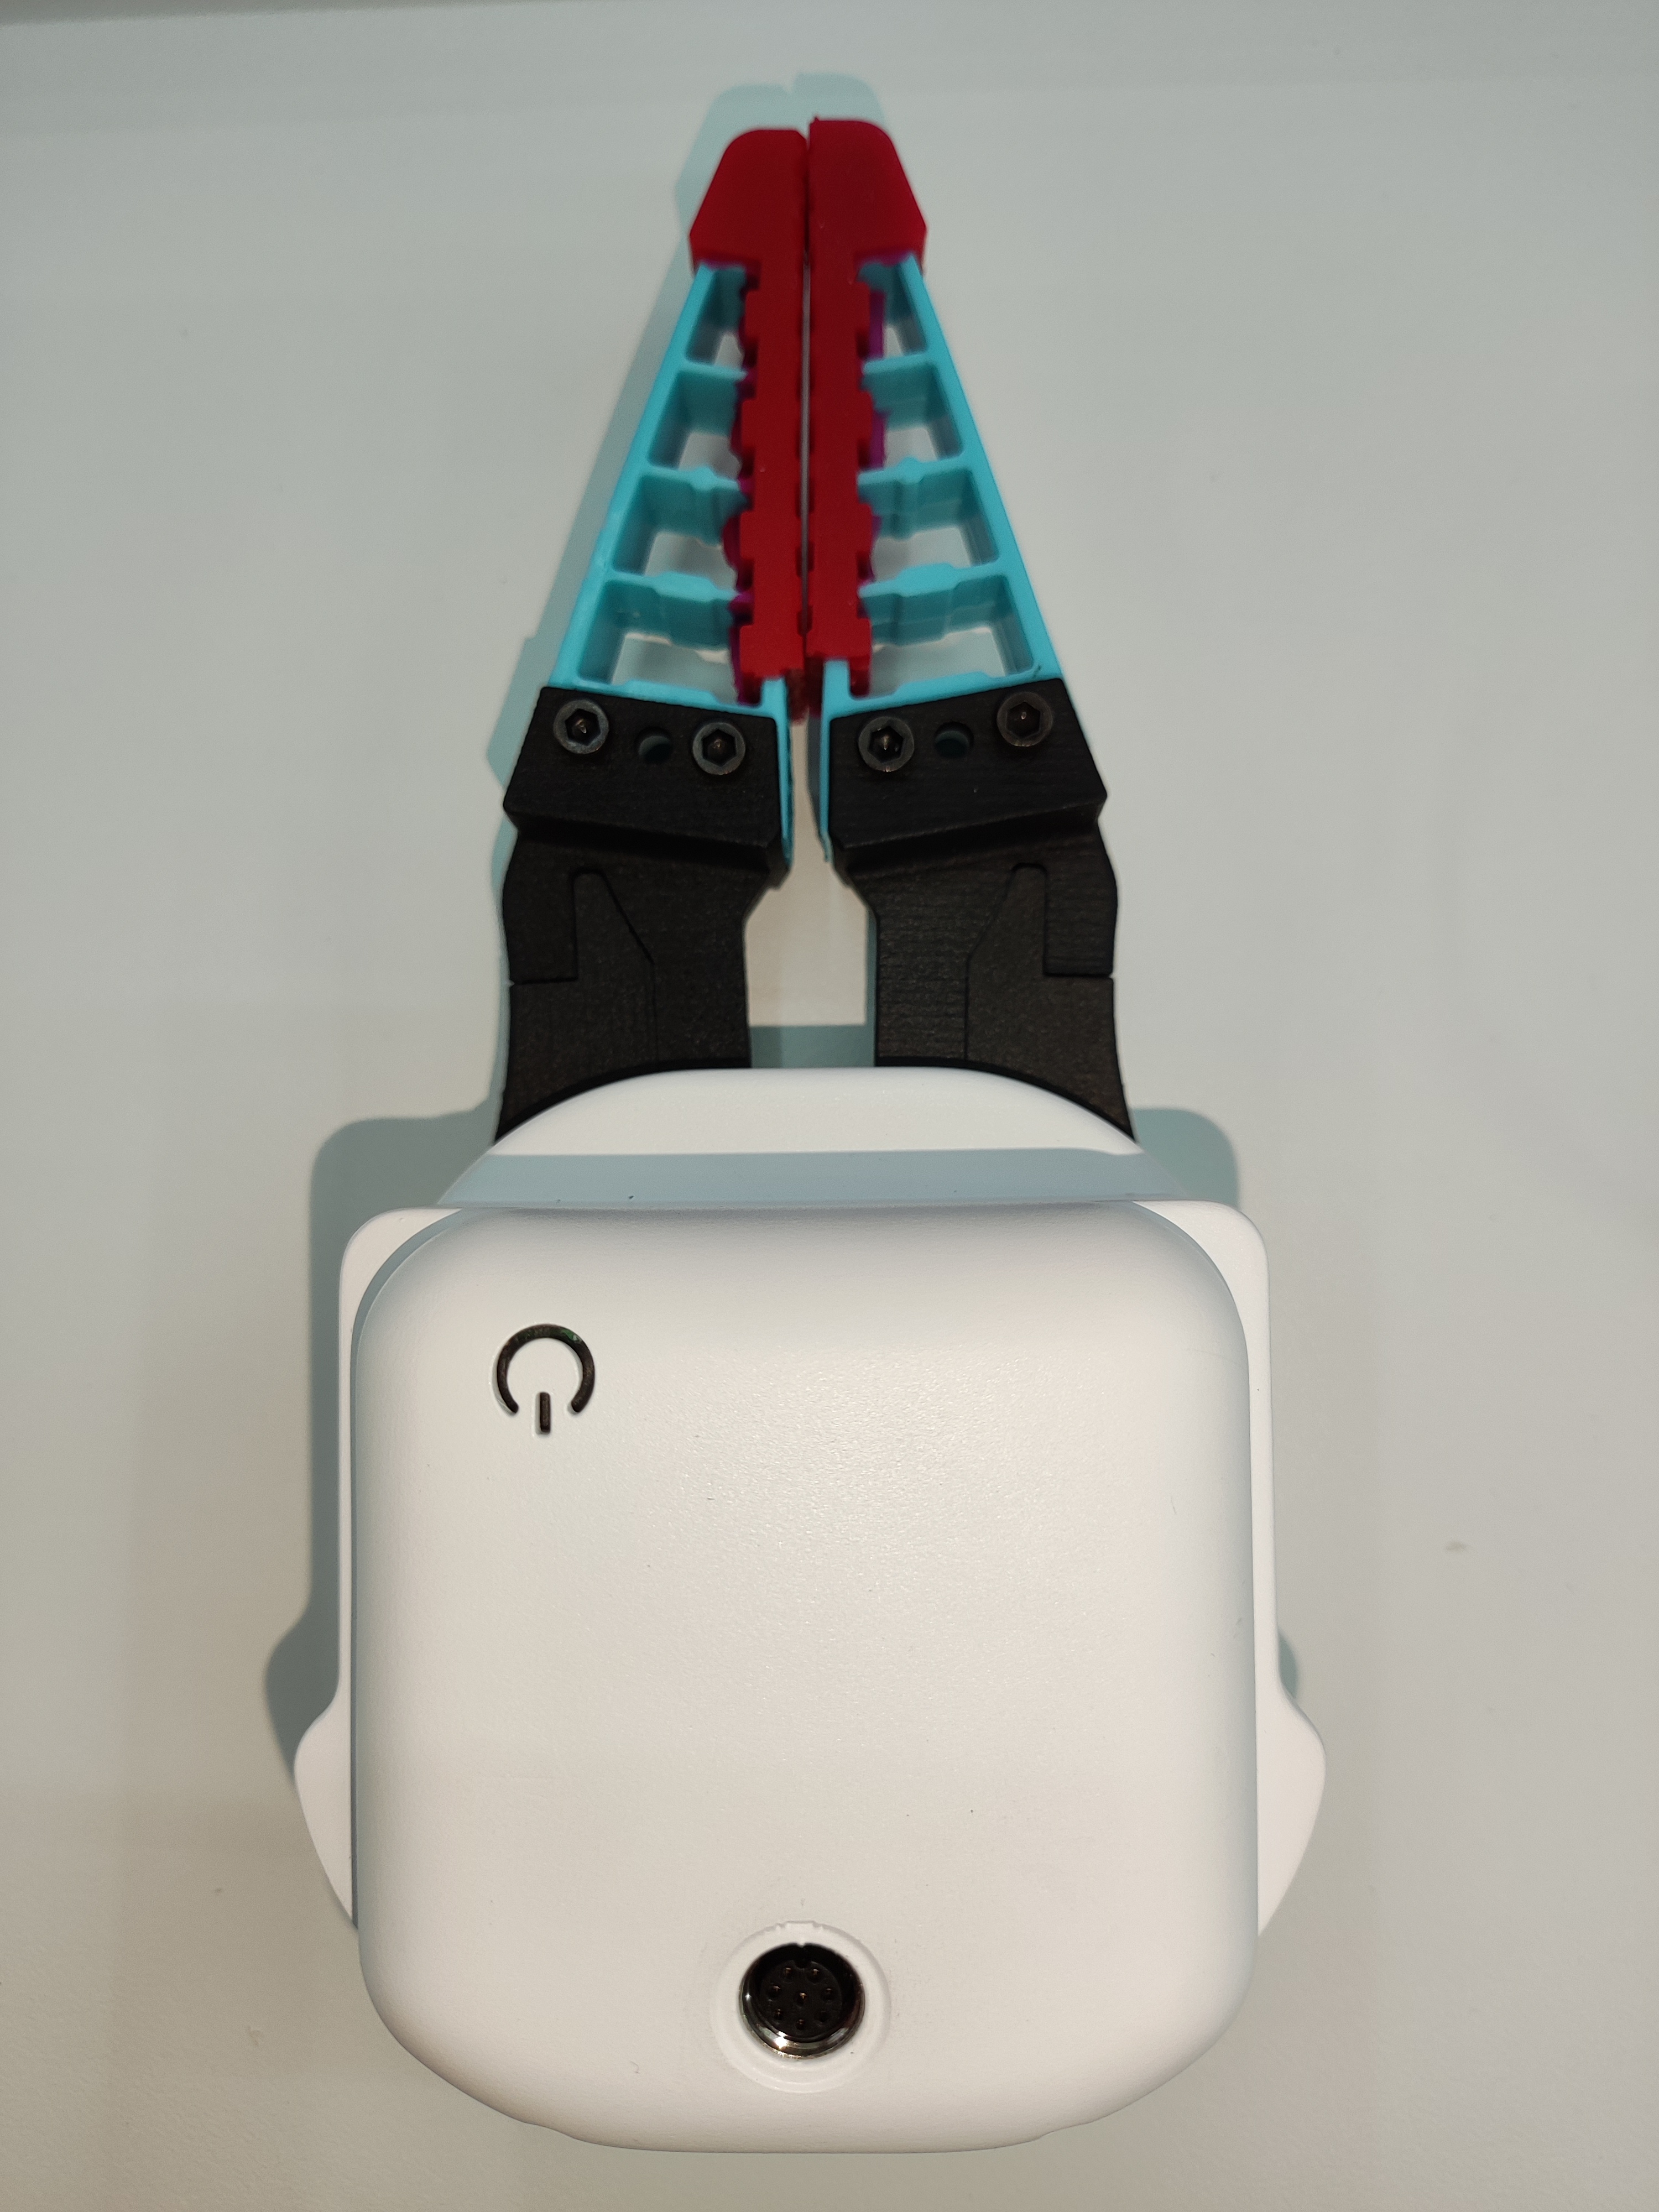
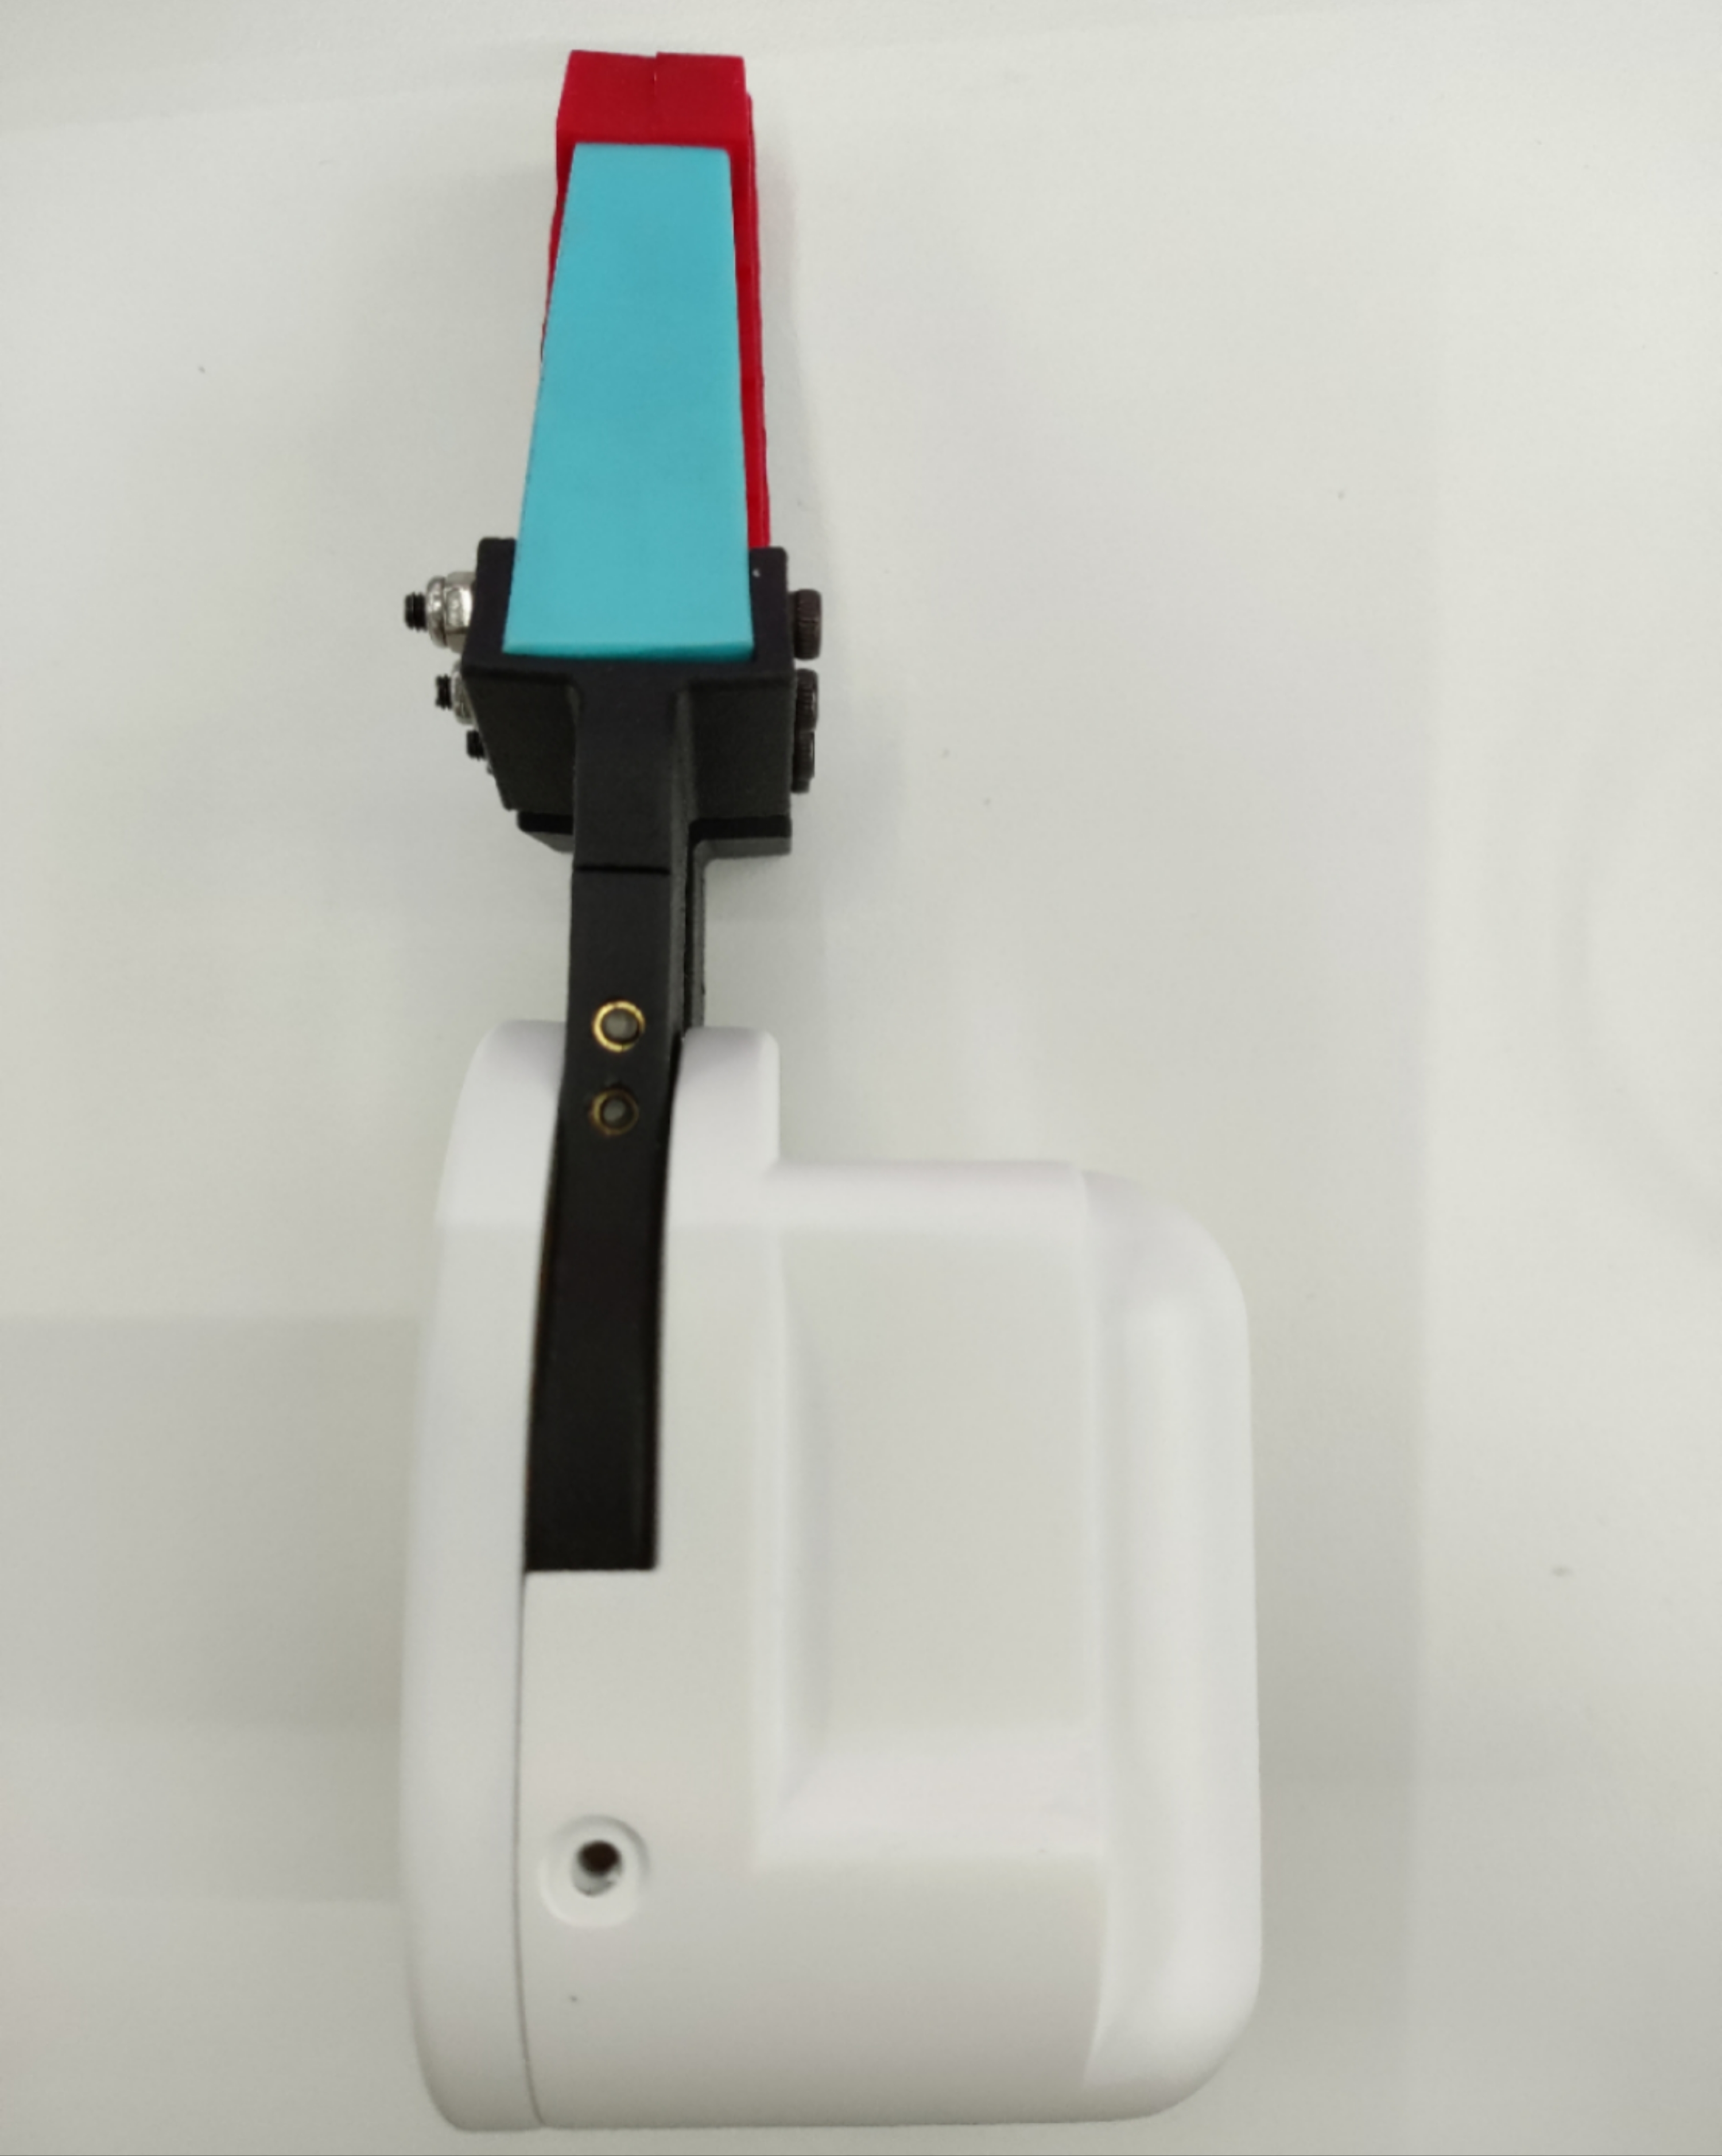
myCobotPro Flexible Gripper - 2-finger electric
Compatible models::myCobot 320
product icon
Specification:
| name | myCobotPro Flexible Gripper - 2-finger electric |
|---|---|
| Material | photosensitive resin + nylon + metal + plastic |
| clamping rangeclamp size | 3D printing |
| clamp size | 0mm-160mm |
| clamp force | 1000 gram |
| Repeatability precision | 0.5 mm |
| service life lifetime | 1 year |
| drive mode drive | electric powered |
| Transmission modetransmission | Gear + connecting rod |
| size | 178*80*69mm |
| weight | 300 gram |
| fixed method | screw |
| Use environment requirements | atmospheric and atmospheric pressure |
| control interface control | Serial / IO Control |
| Applicable equipment | ER myCobot 320 M5 |
ER myCobot 320 Pi ER myCobot Pro 600 |
Flexible gripper: used for gripping objects
Introduction
Traditional industrial suction cups need to absorb the flat surface of the material. In more and more working conditions, the suction surface is easy to damage the panel or components. The soft-touch gripper pinches the edge to grab the panel easily and without trace or damage, ensuring that the product surface is flawless. , Improve the yield rate.
The modular design of the soft-touch gripper is light in weight and can be freely arranged and combined according to the size of the panel.
The clamping force of traditional cylinders is generally large, and the force is difficult to control. The edge of the clamping panel is easy to pinch and warp. The single-finger clamping force of the flexible Grippers is precise and controllable, and will not pinch fragile workpieces.
working principle
- The flexible gripper is an innovative bionic flexible gripper developed by researchers to imitate the shape of the starfish's arms and legs. The "fingers" of the soft claw are made of flexible polymer silicone material, which can be bent and deformed by inflation. It can adaptively cover the target object like a starfish, and can complete the flexible and non-destructive grasping of special-shaped and fragile objects Pick.
Applicable object
- Objects of any shape within a reasonable size
Installation and use
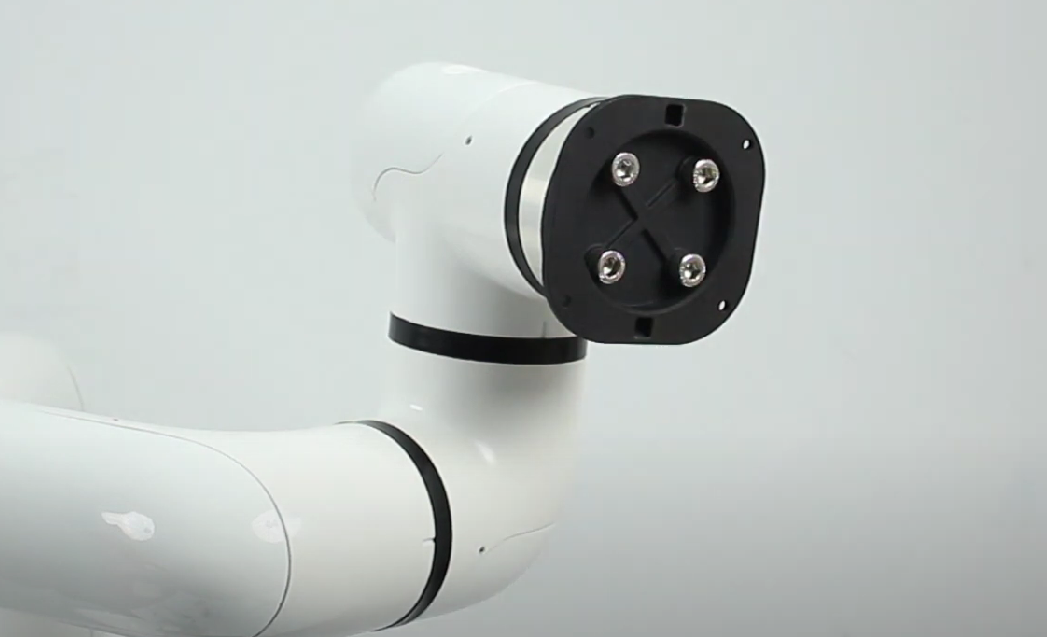
Structural installation:
Structural installation:
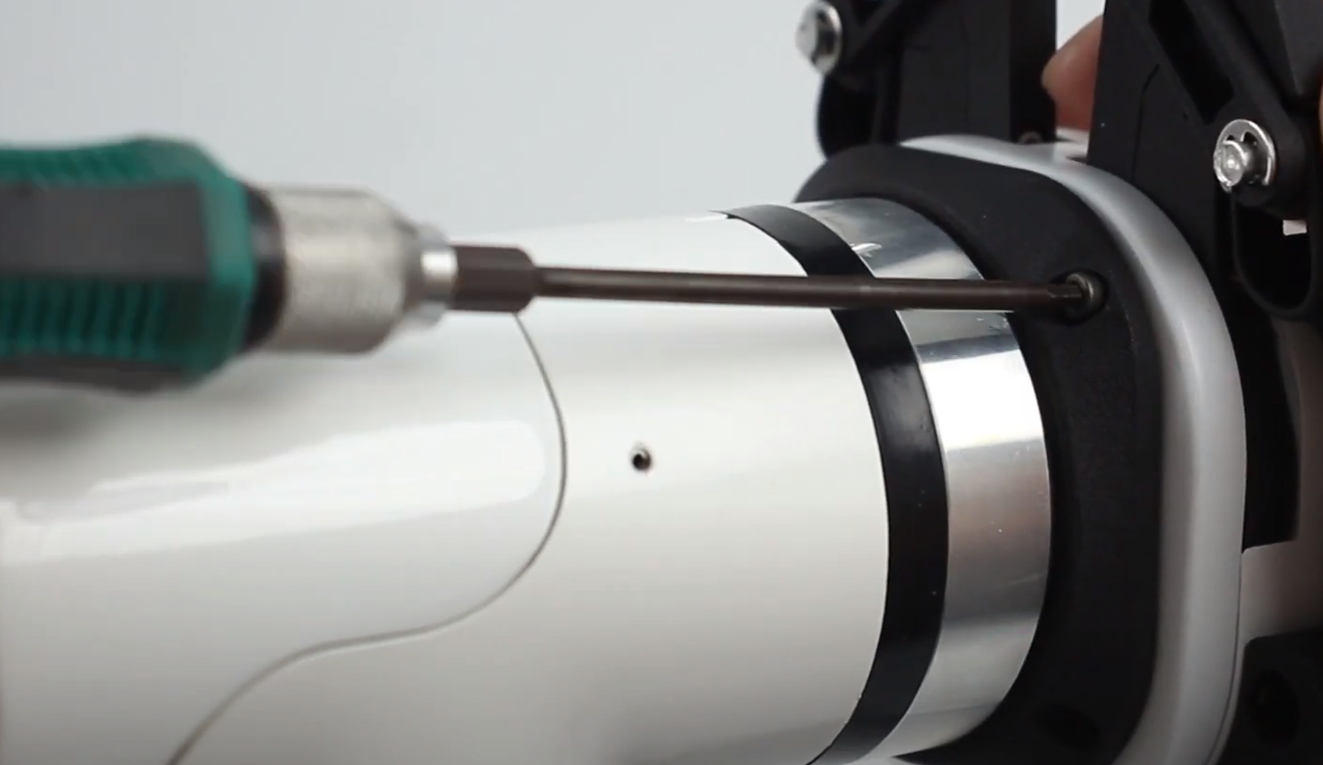
Align the spacer with the hole in the end of the arm and tighten it with the screw:
Align the screw holes in the Grippers with the holes around the gasket and tighten with the fine screws:
Electrical connection:
Take care to do this with the robotic arm powered off.
- Align the m8 cable with the connector of the robotic arm, note that the connector is notched and the connecting cable has a corresponding protrusion, confirm the direction and then insert and tighten:

- Insert the Gripper control connector, again paying attention to the orientation of the notch:

- Align the m8 cable with the connector of the robotic arm, note that the connector is notched and the connecting cable has a corresponding protrusion, confirm the direction and then insert and tighten:
Instructions for using myCobot Pro 320
Programming development (python):
Programming development of the clamping Grippers using python: python environment download
Create a new python file:
Right click on the desired file path to create a new python file: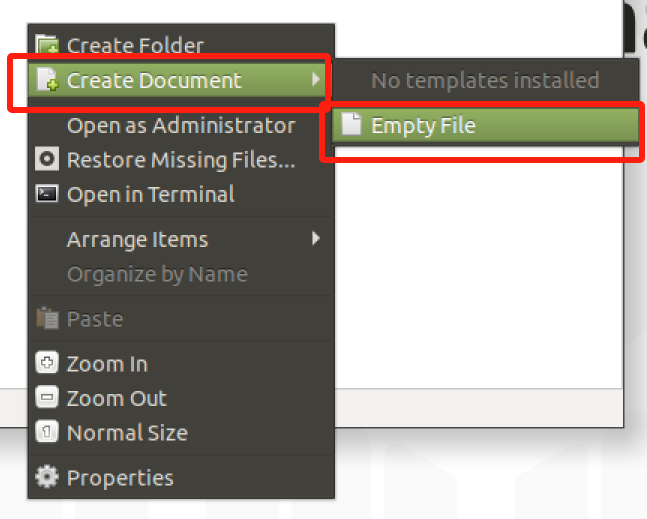
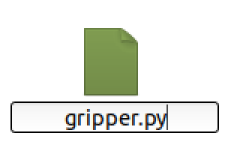
The name of the file can be changed as needed
Perform function programming:

The codes are listed below:
- M5 Version:
from pymycobot import MyCobot320 import time # Initialise a MyCobot320 object mc = MyCobot320("COM3", 115200) # Set the gripper Grippers to 485 mode mc.set_gripper_mode(0) # Controls the gripper Grippers to open-close-open: # Use gripper status interface 0 for open, 1 for closed mc.set_gripper_state(0, 80) time.sleep(3) mc.set_gripper_state(1, 80) time.sleep(3) mc.set_gripper_state(0, 80) time.sleep(3) # See the python API for details on interface usage.- Pi version:
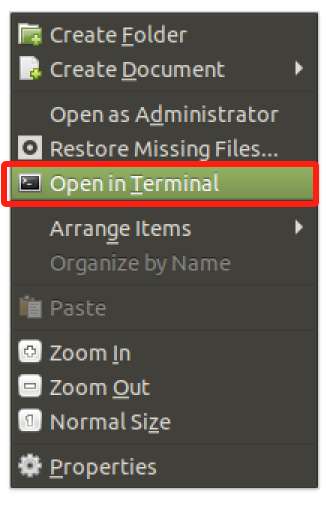
from pymycobot import MyCobot320
from pymycobot import PI_PORT, PI_BAUD # When using the Raspberry Pi version of mycobot, you can reference these two variables for MyCobot320 initialisation
import time

# Initialise a MyCobot320 object
mc = MyCobot320(PI_PORT, 115200)

# Set the gripper Grippers to 485 mode
mc.set_gripper_mode(0)
# Controls the gripper Grippers to open-close-open:
# Use gripper status interface 0 for open, 1 for closed
mc.set_gripper_state(0, 80)
time.sleep(3)
mc.set_gripper_state(1, 80)
time.sleep(3)
mc.set_gripper_state(0, 80)
time.sleep(3)

# See the python API for details on interface usage.
Save the file and close it, and open a command-line terminal by right-clicking on an empty space in the folder.
Input:
python gripper.py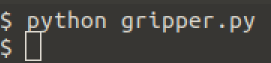
You can see the Grippers open-close-open.
Programming Development (myblockly):
Programming development of the Grippers using myblockly: myblockly download
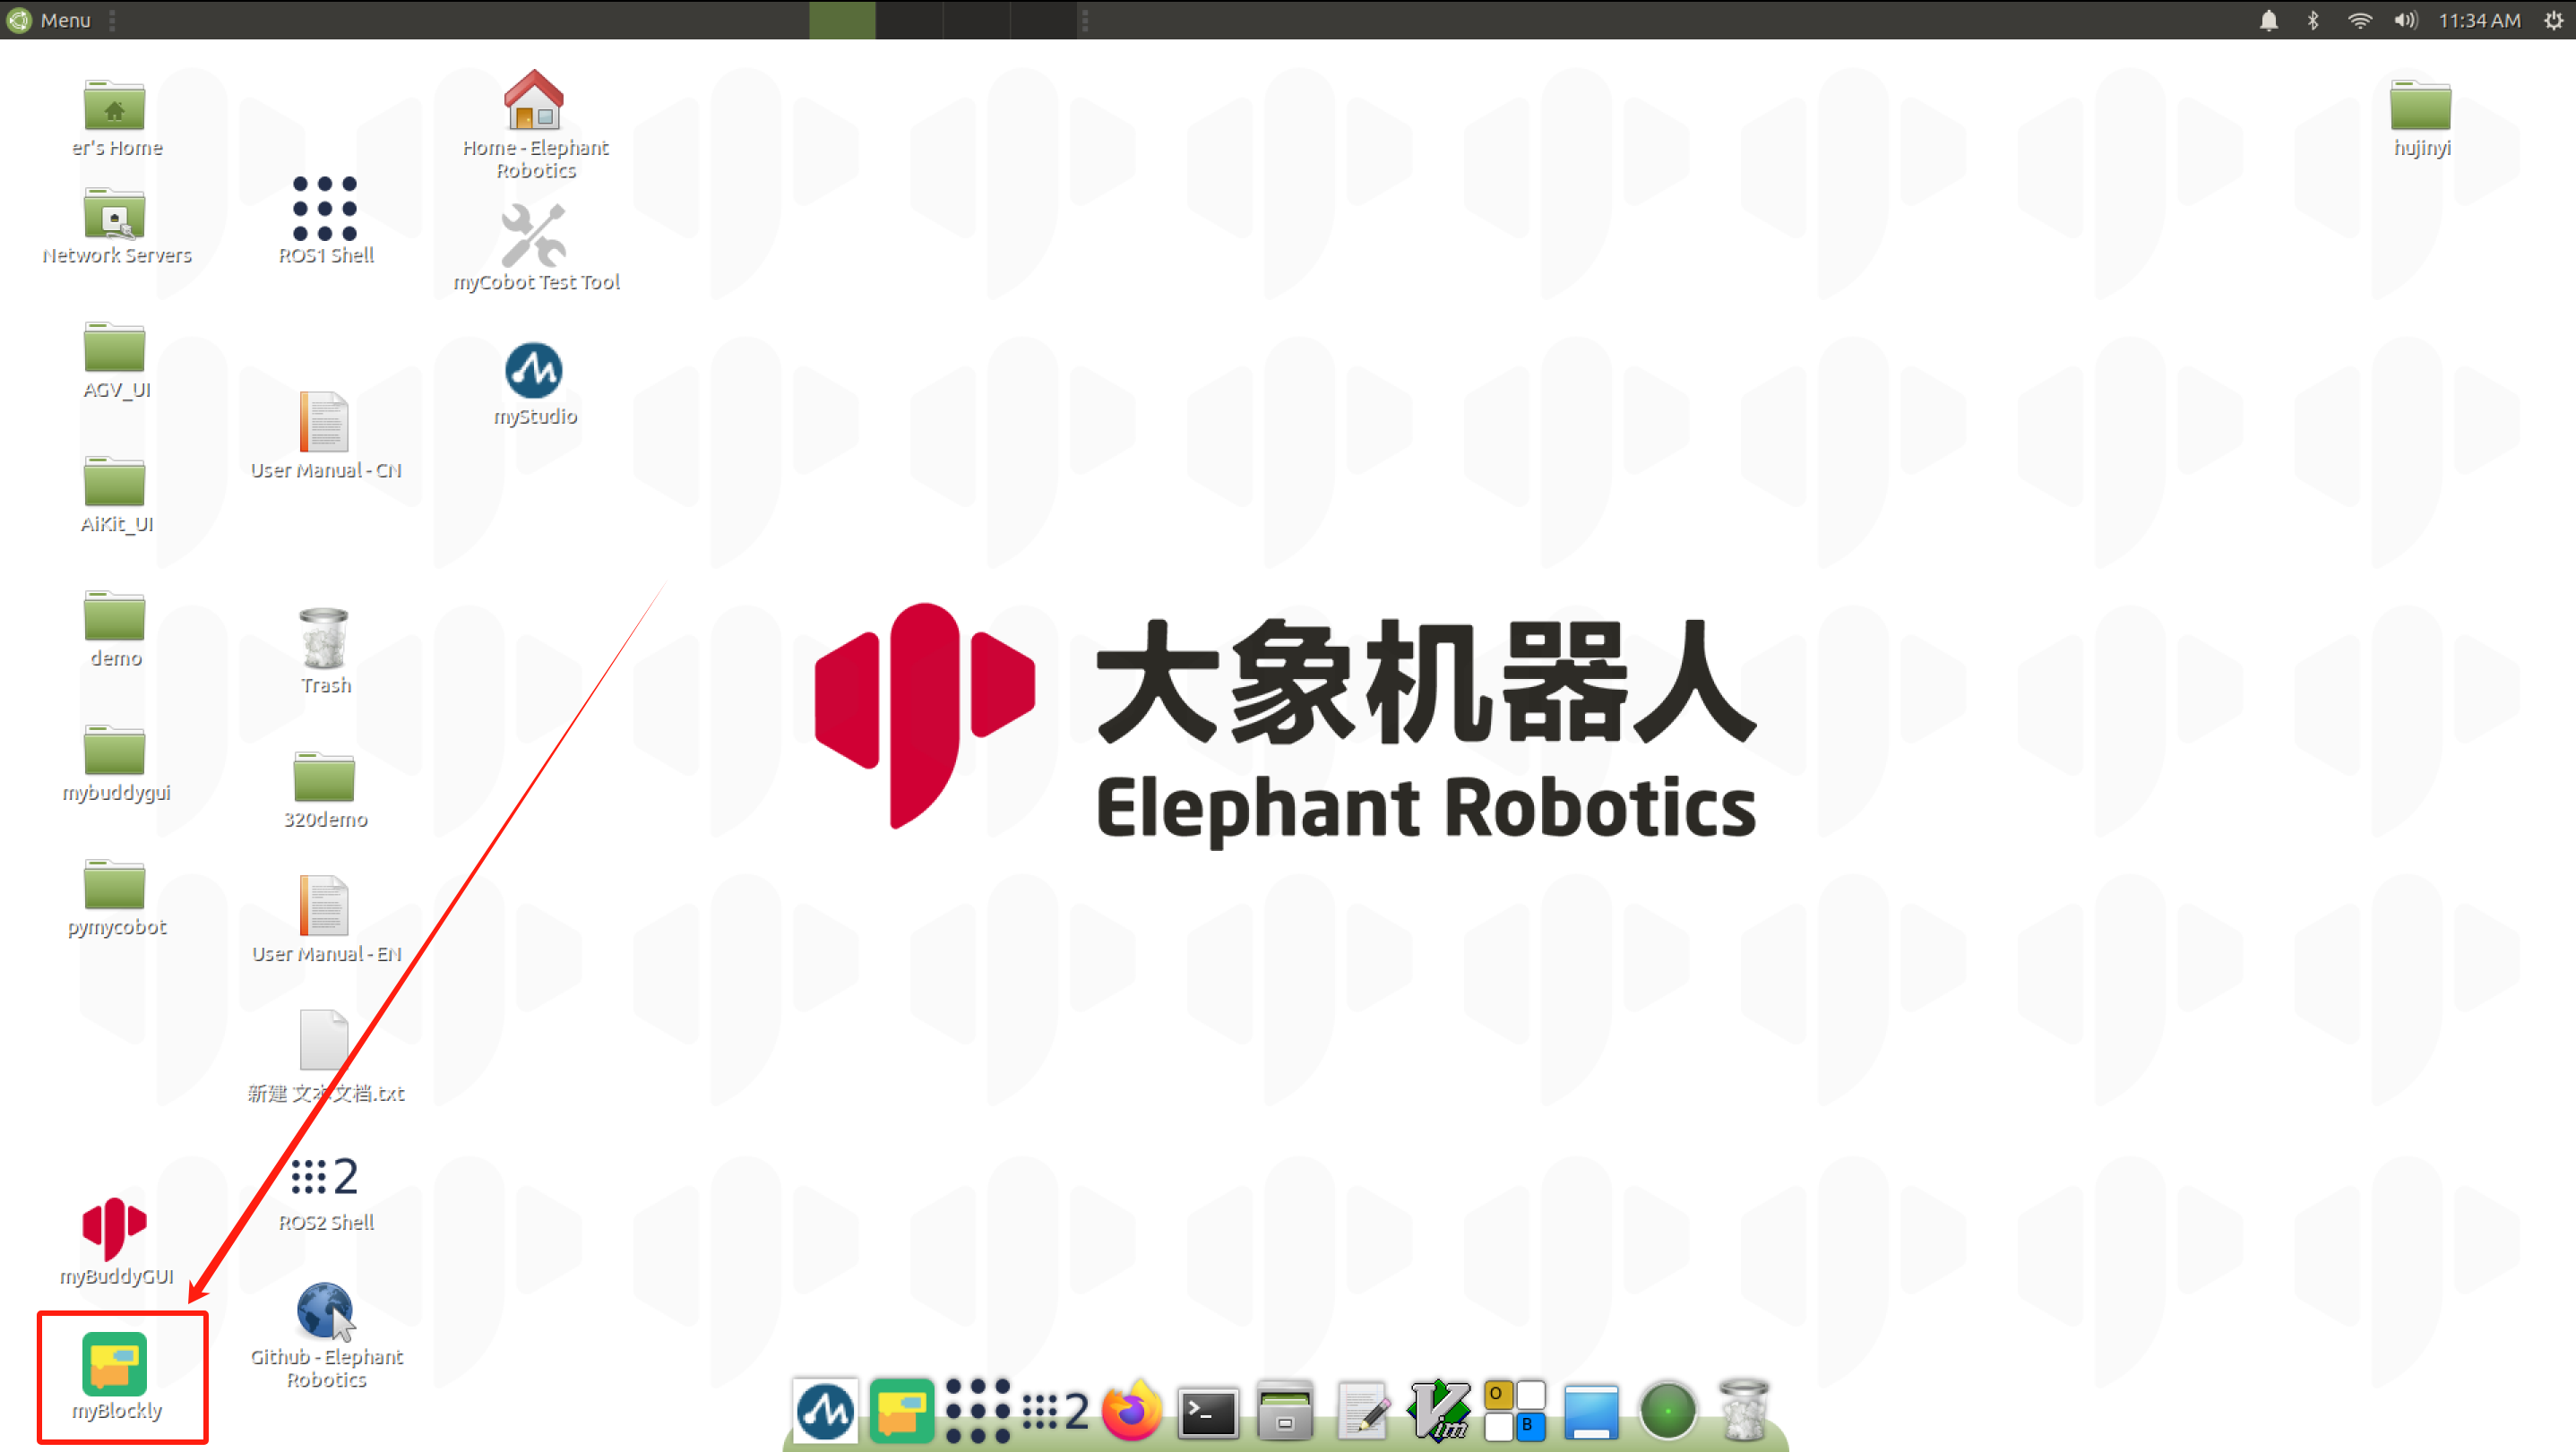
Before developing with myblockly, you need to runmc.set_gripper_mode(0)in python to set the gripper to 485 mode.- After confirming that the structural and electrical connections are complete, start the arm and open the myblockly software when the graphical interface appears.
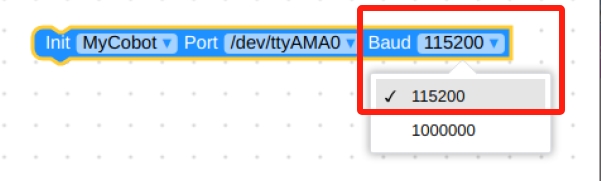
- Modify the baud rate to 115200
- Find
Grippersin the list on the left and select theSet Gripper Valuemodule.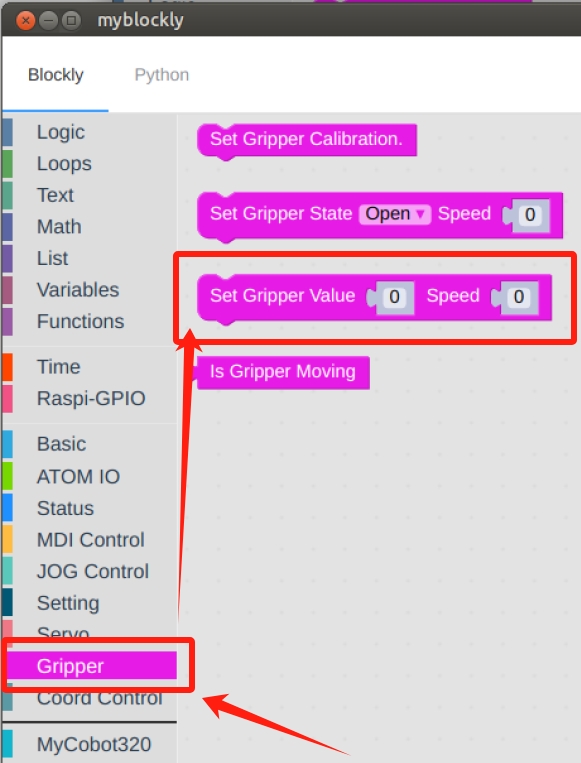
- The drag module is attached under the
initialise mycobotmodule, modifying the degree of spread and speed as required, which is set to70here.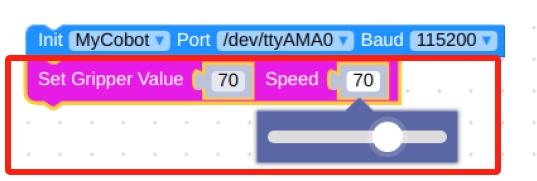
- In
Time, selectSleepmodule
- Set the time to
2 secondsto allow time for the Grippers to move.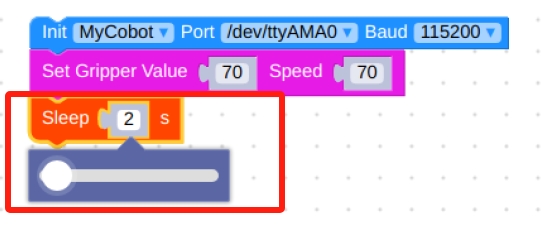
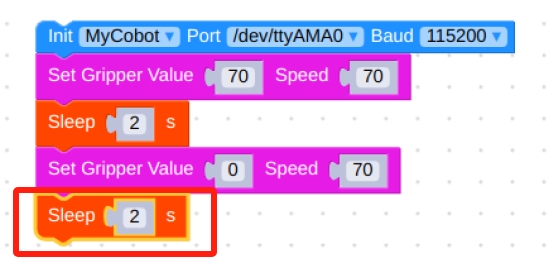
- Repeat the selection of the
Set Gripper ValueandSleepmodules to change theSet Gripper Valueopening level to0.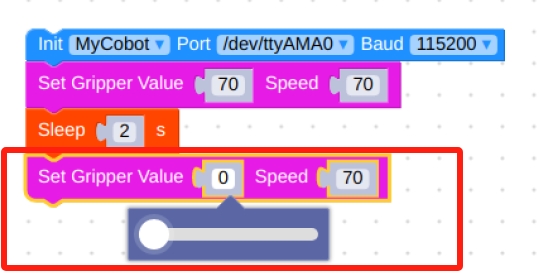
- You can also just have the Grippers open at a defined rate, without specifying the amount of opening.
FindGrippersin the list on the left and select theSet Gripper Valuemodule.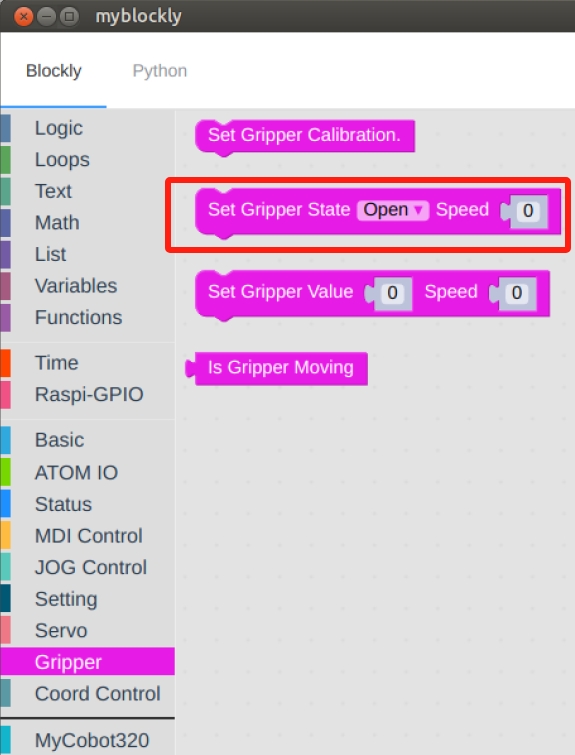
- Modify status to
openand speed to70.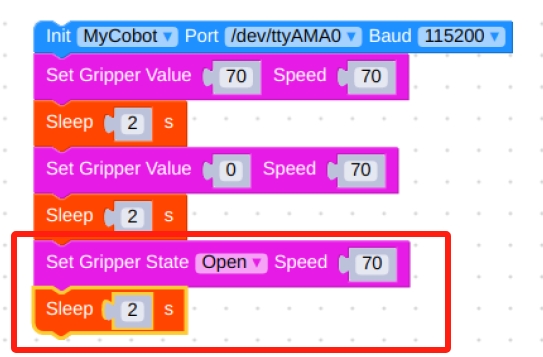
- Click on the green running icon in the upper right corner to see the
open-close-openmovement of the Grippers.
- After confirming that the structural and electrical connections are complete, start the arm and open the myblockly software when the graphical interface appears.